Product Photography for E-commerce: Shoot Images That Sell Online
Table of Contents
Why Product Photography Matters for E-commerce
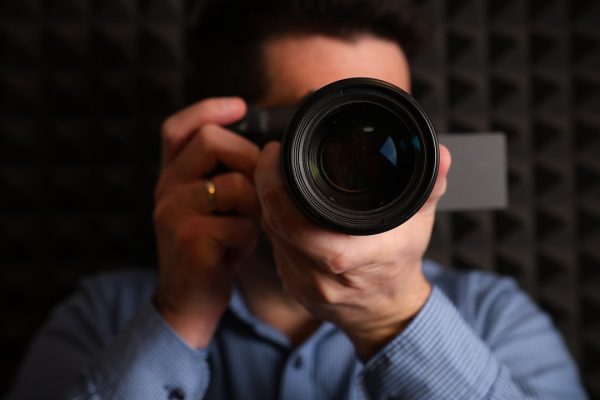
In e-commerce, customers cannot touch, hold or try your product before buying. Product photography ecommerce is the bridge between the physical product and the digital purchase decision. Your images must do the work that a sales associate does in a physical store: demonstrate quality, show detail, convey scale and build confidence.
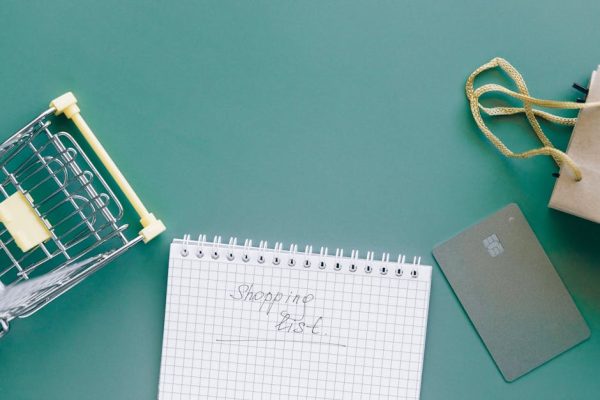
The numbers are clear. Ninety-three percent of online shoppers say that visual appearance is the primary factor in their purchasing decisions. Listings with high-quality images see conversion rates 30 to 50 percent higher than those with poor imagery. On platforms like Shopee and Lazada, where Singapore consumers increasingly shop, products with multiple high-quality images rank higher in search results and category listings.
Poor product photography does not just reduce conversions. It increases return rates because customers receive products that do not match their expectations. It undermines brand perception. And it wastes the money you spend driving traffic to your product pages through Google Ads and social media campaigns.
Whether you are selling ten products or ten thousand, investing in quality product photography delivers measurable returns on every unit sold.
Equipment and Setup on Any Budget
You do not need an expensive studio to shoot professional product photos. Here is what you need at each budget level.
Starter setup (under SGD 300):
- Smartphone with a high-quality camera (iPhone 14 and above or equivalent Android)
- White foam board or poster board for backgrounds and bounce lighting
- Portable light box or tent for small products (available online for SGD 30 to 80)
- Smartphone tripod or mount
- Window with natural light as your primary light source
Intermediate setup (SGD 500 to 2,000):
- Entry-level mirrorless camera or DSLR with a kit lens
- 50mm or 85mm prime lens for sharp product shots with shallow depth of field
- Two continuous LED light panels with diffusion
- Seamless paper roll backdrop in white and one additional colour
- Sturdy tripod with a ball head
- Reflectors and diffusers
Professional setup (SGD 3,000 and above):
- Full-frame mirrorless camera
- Macro lens for detailed close-ups
- Studio strobe lighting with softboxes and strip lights
- Motorised turntable for 360-degree product shots
- Tethered shooting setup connected to a computer for real-time review
- Dedicated shooting table with a translucent surface for bottom lighting
For most Singapore small businesses and online sellers, the intermediate setup provides the best balance of quality and cost. It produces images that are indistinguishable from professional studio work for the majority of product categories.
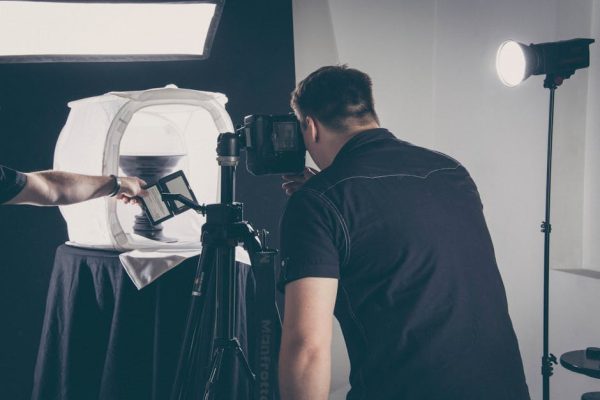
Lighting Techniques for Product Shots
Lighting is the single most important technical element in product photography. Understanding a few fundamental techniques will dramatically improve your results.
Natural light: Position your product next to a large window with indirect sunlight. Place a white foam board opposite the window to bounce light back onto the shadow side of the product. This creates soft, even lighting that works beautifully for most product categories. Avoid direct sunlight, which creates harsh shadows and blown-out highlights. Shoot between 10am and 2pm for the most consistent natural light in Singapore.
Two-light setup: Place one light at 45 degrees to the front-left of the product (key light) and a second light at 45 degrees to the front-right (fill light). Set the fill light to roughly half the intensity of the key light. This creates gentle shadows that give the product dimension without harsh contrast.
Diffusion: Always diffuse your lights. Direct, undiffused light creates hard shadows and hot spots on reflective surfaces. Softboxes, diffusion panels, translucent umbrellas or even a sheet of white baking paper placed between the light and product will soften the light quality significantly.
Backlighting: For translucent products like glassware, beverages and bottles, position a light behind the product to illuminate it from within. This technique highlights the colour and clarity of the product in a way that front lighting alone cannot achieve.
Reflective products: Jewellery, watches, electronics and other shiny surfaces are the most challenging subjects. Use a light tent or sweep of white material around the product to create uniform reflections. Avoid lighting setups that create visible hot spots or distracting reflections.
Types of Product Shots You Need
A complete product listing requires multiple image types, each serving a specific purpose in the buying decision.
Hero shot: The main product image on a clean white or neutral background. This is the first image customers see in search results and category pages. It should show the product clearly, centred, well-lit and free of distractions. Most marketplaces require a pure white background for the primary listing image.
Detail shots: Close-up images that highlight texture, material quality, stitching, finish and small features. These address the “can I trust the quality?” question that every online shopper has. Shoot three to five detail angles per product.
Scale shots: Images that show the product’s size in context. Include a hand holding the product, the product next to a common reference object or the product in its intended environment. Size misunderstandings are one of the top reasons for e-commerce returns.
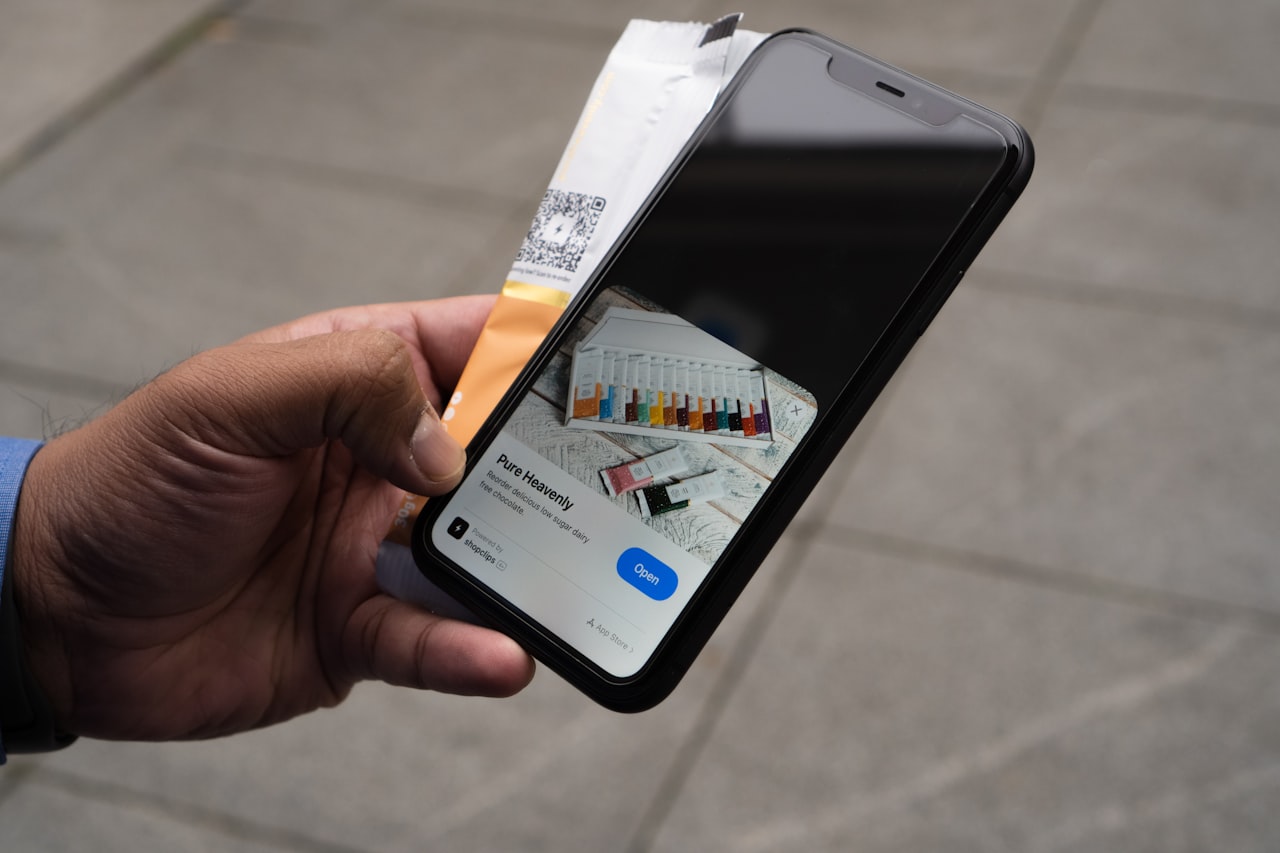
Lifestyle shots: Images showing the product being used in a real-world setting. A backpack photographed on someone walking through Singapore’s streets. A skincare product on a bathroom counter. These images help customers visualise owning the product and create an emotional connection that clean studio shots cannot.
Group shots: If your product comes in multiple colours, sizes or variants, include an image showing all options together. This encourages customers to browse the range and often increases average order value.
Packaging shots: Show the product with its packaging, especially for gift items and premium products. Unboxing experience is a significant purchase motivator. Include these images toward the end of your gallery. For guidance on making these images perform on social platforms, see our visual content strategy guide.
Shooting by Product Category
Different product categories require specific techniques.
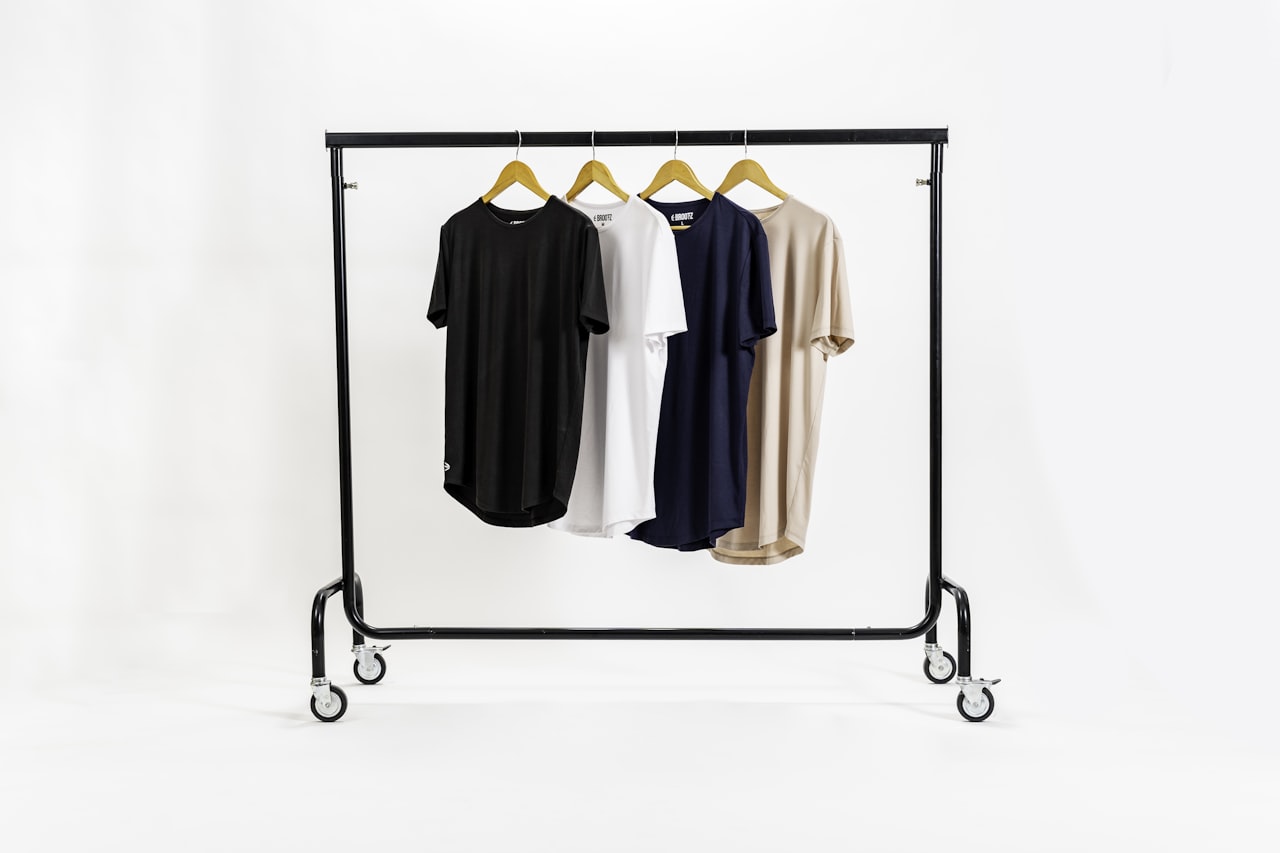
Apparel and fashion: Use mannequins, flat-lay arrangements or models to show how garments look when worn. Flat-lays work well for accessories and folded items. Mannequins provide shape without the cost of models. For premium fashion, model photography on location delivers the strongest brand perception. Iron or steam all garments before shooting.
Food and beverages: Freshness is everything. Shoot immediately after preparation. Use garnishes, props and surfaces that complement the food without distracting from it. Shoot from above for flat dishes and at 45 degrees for items with height. Natural light is usually the best choice for food photography. Singapore’s hawker culture and cafe scene provide authentic styling contexts.
Electronics and gadgets: Show clean, sharp images against dark or gradient backgrounds to convey a tech-forward aesthetic. Highlight screens, ports, buttons and connectivity. Use reflective surfaces for a premium feel. Include scale reference shots and images showing the product in use.
Jewellery and accessories: Use macro photography to capture detail that customers cannot see in physical stores. Shoot on simple props like stone, wood or fabric that complement without competing. Consistent, well-managed reflections are critical. Consider a turntable for 360-degree views.
Home and lifestyle products: Context is key. Photograph furniture, decor and homewares in styled room settings that show scale, proportion and intended use. Singapore’s housing context (HDB flats, condominiums) is relevant. Customers want to know whether a piece fits their actual living space.
Beauty and skincare: Clean, bright imagery with attention to packaging design and texture. Include swatches, before-and-after comparisons where appropriate and ingredient close-ups. Lifestyle shots showing the product in a skincare routine add context and aspiration.
Editing and Post-Production
Post-production polishes your raw images into conversion-ready assets.
Essential edits:
- Background removal or cleanup: Ensure pure white backgrounds are truly white (RGB 255, 255, 255) for marketplace compliance. Remove any dust, shadows or imperfections on the backdrop.
- Colour accuracy: Adjust white balance so the product colour matches reality. Inaccurate colours are a leading cause of returns. Shoot a colour reference card and use it during editing to calibrate.
- Exposure and contrast: Brighten shadows and ensure the product is evenly exposed. Avoid over-processing that makes images look unnatural.
- Cropping and alignment: Crop consistently across all product images so they appear uniform in category pages and search results. Centre the product and maintain consistent padding.
- Blemish removal: Clean up dust spots, scratches, fingerprints and minor imperfections. Be careful not to remove features that customers expect to see.
Software options:
- Adobe Lightroom: Best for batch processing and colour correction across large product catalogues.
- Adobe Photoshop: Essential for background removal, compositing and detailed retouching.
- Canva: Adequate for basic cropping, brightness adjustments and adding text overlays to lifestyle shots. Our Canva for business guide covers these workflows.
- Remove.bg: AI-powered background removal that works well for straightforward product shapes.
Batch processing: If you have dozens or hundreds of products, create Lightroom presets or Photoshop actions that apply your standard colour correction, exposure and cropping settings automatically. This ensures consistency and dramatically reduces editing time.
Platform Image Requirements
Each e-commerce platform has specific image requirements that affect listing visibility and compliance.

Shopee Singapore:
- Minimum image size: 500 by 500 pixels
- Recommended: 1024 by 1024 pixels square format
- Up to nine images per listing
- White or clean background required for the main image
- No watermarks, text overlays or promotional badges on the main image
Lazada Singapore:
- Minimum: 330 by 330 pixels
- Recommended: 800 by 800 pixels or larger
- Up to eight images per listing
- Pure white background for the main image
- Product must fill at least 80 percent of the image frame
Amazon Singapore:
- Minimum: 1000 by 1000 pixels for zoom functionality
- Recommended: 2000 by 2000 pixels
- Pure white background (RGB 255, 255, 255) mandatory for main image
- Product must occupy at least 85 percent of the image frame
- No text, logos or watermarks on the main image
Your own e-commerce website:
- Consistent aspect ratio across all products (square is most versatile)
- Optimise file size for fast loading without sacrificing quality. WebP format at 80 percent quality offers an excellent balance.
- Include alt text for every image for accessibility and SEO purposes
- Enable zoom functionality so customers can inspect details
- Consider 360-degree product views for high-value items
Maintain a master file for each product image at the highest resolution. Export platform-specific versions from the master rather than editing lower-resolution copies. This ensures quality is maintained as platform requirements change. Your web design team should establish image processing workflows that automate exports for each platform.
Frequently Asked Questions
Can I use a smartphone for professional product photography?
Yes, modern smartphones produce excellent product images when paired with proper lighting and a clean background. The iPhone 15 Pro and Samsung Galaxy S24 Ultra, for example, offer computational photography features that rival entry-level cameras in many situations. The limiting factor is usually lighting and setup, not the camera itself. For most Shopee and Lazada listings, smartphone photography with good lighting is more than sufficient.
How many images should each product listing have?
Use the maximum allowed by your platform. For most marketplaces, this means eight to nine images. Include a hero shot, three to four detail angles, one to two lifestyle or context shots, a scale reference image and a packaging shot if relevant. More images give customers more information and reduce purchase hesitation.
What background colour should I use for product photos?
Pure white is the standard for marketplace main images and the safest choice for most product categories. It is required by Amazon, Lazada and Shopee for primary listing images. For lifestyle shots and supplementary images, use backgrounds that complement the product and brand aesthetic. Light grey, natural wood and textured surfaces work well for secondary images.
How do I photograph reflective products like jewellery or electronics?
Use a light tent or surround the product with white diffusion material to create uniform, controlled reflections. Avoid direct lighting that creates hot spots. Shoot at a slight angle rather than straight on to manage reflections. In post-production, you can clean up remaining unwanted reflections. For high-end jewellery, consider hiring a specialist photographer experienced with reflective surfaces.
Should I hire a photographer or do it myself?
If you have fewer than 20 products and a limited budget, learning to shoot your own product photography is a practical investment. For larger catalogues, seasonal ranges or premium brands, a professional photographer delivers faster throughput and more consistent results. Many Singapore e-commerce businesses start with DIY photography and graduate to professional services as their revenue grows.
How do I ensure colour accuracy in my product photos?
Shoot a colour reference card (like the X-Rite ColorChecker) alongside your products and use it to calibrate white balance during editing. Ensure your monitor is colour-calibrated. Compare your edited images to the physical product under neutral lighting before publishing. Consistent lighting setup across all shoots also helps maintain colour accuracy across your catalogue.
What is the best file format for e-commerce product images?
JPEG at 85 to 90 percent quality is the universal standard for e-commerce platforms. For your own website, WebP format offers 25 to 30 percent smaller file sizes at equivalent quality, which improves page load speed. Always maintain a master file in the highest quality format (TIFF or maximum quality JPEG) and export platform-specific versions from it.
How often should I reshoot product photography?
Reshoot when your products change (new packaging, updated design, new colourways) or when your brand visual identity evolves. If your existing images are performing well and the products have not changed, there is no need to reshoot. However, if you are experiencing high return rates or low conversion on specific listings, poor photography may be the culprit and a reshoot is warranted.